
Introduction
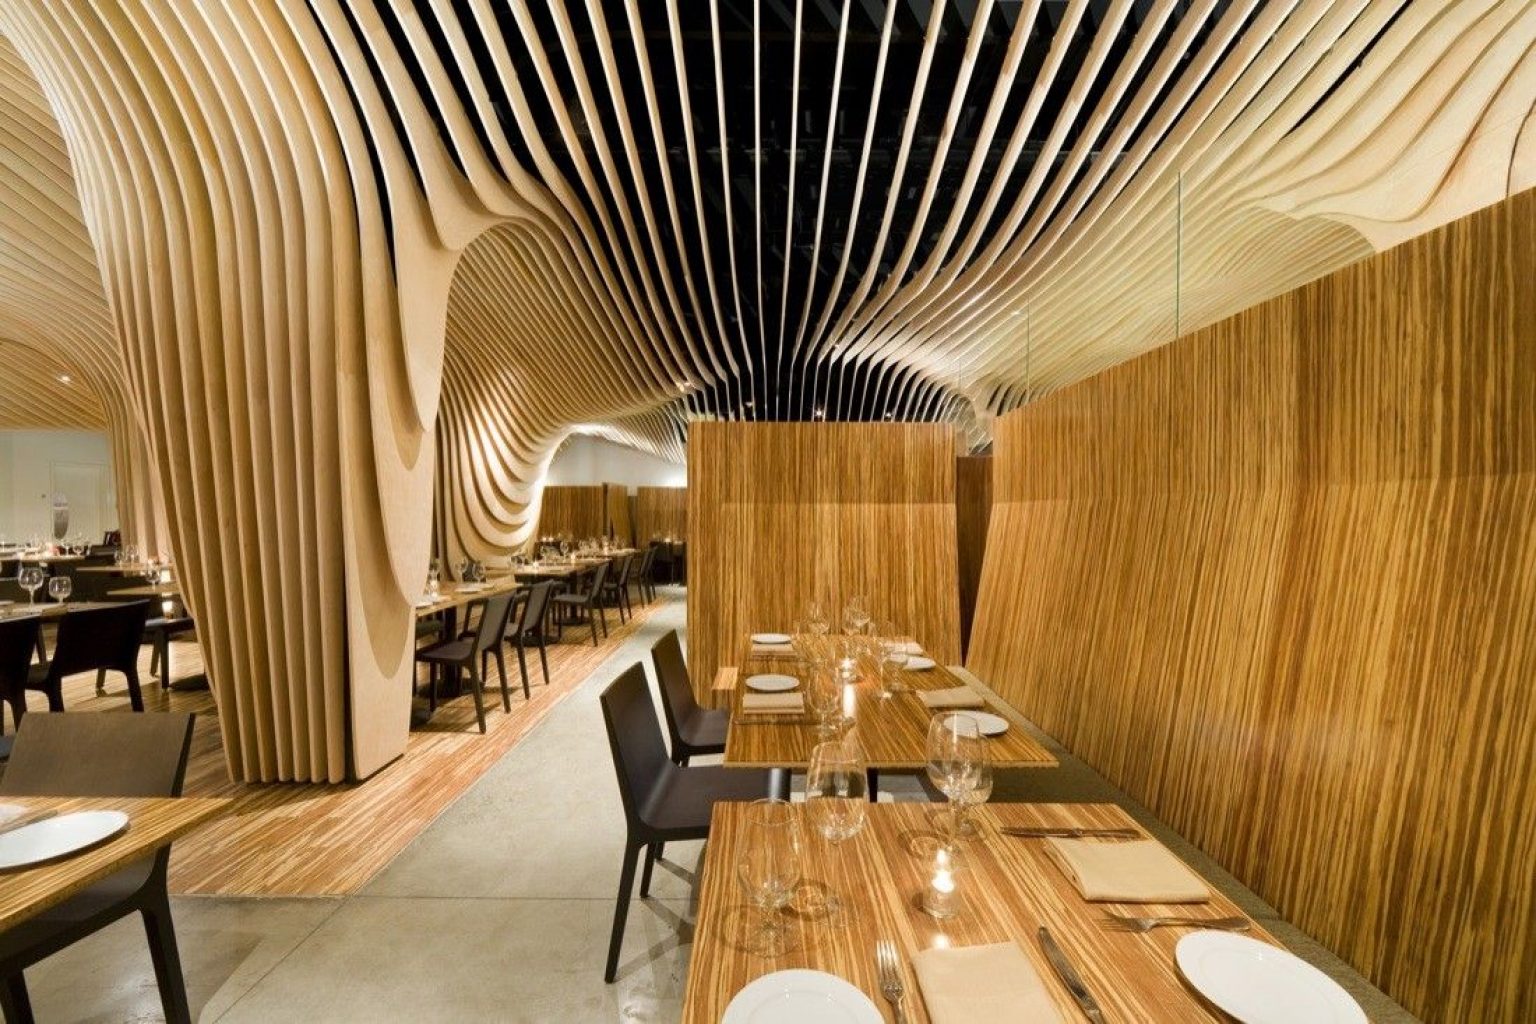
Restaurant interior photography is a specialized field that combines elements of architectural and lifestyle photography to capture the essence and atmosphere of dining spaces. This type of photography not only requires an eye for detail and composition but also a good understanding of lighting and the restaurant’s branding. Whether you are a professional photographer looking to expand into this niche or a restaurant owner wanting to showcase your venue, mastering the art of restaurant interior photography is essential.
Understanding the Basics of Restaurant Interior Photography
The first step in successful restaurant interior photography is understanding what your photos need to communicate. Your images should tell a story, highlighting the mood and aesthetics of the restaurant. This involves more than just taking pictures of the dining area; it includes capturing the tiny details that contribute to the restaurant’s unique ambiance.
Planning Your Shoot
1. Visiting the Restaurant
Before the shoot, visit the restaurant to get a feel for its layout and decor. This visit can help you identify key features to focus on, such as a beautifully set table or a particular piece of art. It also allows you to see how the natural light moves throughout the space, helping you pick the best time for your photo shoot.
2. Communicating with the Owner
Discuss with the restaurant owner or manager what they want to achieve with the photographs. Understand the brand’s image and the story they wish to convey. This conversation can guide your choice of what to shoot and how to shoot it, ensuring the photos meet the client’s expectations.
3. Planning the Timing
The timing of your shoot can significantly impact the quality of your photos, especially in terms of lighting. If the restaurant has large windows and relies on natural light, plan to shoot during the day when the light is best. If you’re shooting a dinner scene or the restaurant features ambient lighting, an evening shoot might be necessary.
The Technical Side of Restaurant Interior Photography
Mastering the technical aspects of photography is crucial to capturing high-quality interior shots. This involves understanding camera settings, lighting, and post-processing.
1. Choosing the Right Equipment
A good quality DSLR or mirrorless camera is essential. Lenses are equally important; a wide-angle lens can help capture the entirety of the space, while a prime lens might be better for detailed shots. A tripod can help stabilize your camera in low-light conditions, ensuring sharp images.
2. Managing Lighting
Lighting in restaurant interior photography can be tricky due to mixed lighting conditions. Use a combination of natural light and the restaurant’s ambient lighting to create a balanced look. If necessary, bring additional lighting like softboxes or reflectors to enhance or soften shadows and highlights.
3. Camera Settings
Set your camera to manual mode to have complete control over exposure settings. Use a low ISO to reduce noise, a small aperture to ensure everything is in focus, and a slow shutter speed to let in enough light. Always shoot in RAW format for greater control during post-processing.
Composing Your Shots
Composition is key in creating visually appealing photographs that draw the viewer in. Each shot should be carefully composed to balance the elements within the frame and guide the viewer’s eye through the image.
1. Using the Rule of Thirds
The rule of thirds involves dividing the image using two horizontal and two vertical lines. Placing key elements along these lines or at their intersections can create more tension, energy, and interest in the composition than simply centering the subject.
2. Capturing Different Angles
Experiment with different angles and perspectives to find the most flattering views of the interior. High-angle shots can show the layout of the space, while low-angle shots can make the interiors look grand and imposing.
Post-Processing Your Images
Post-processing is an essential step in restaurant interior photography. It allows you to refine your photos, correct colors, and adjust exposure to better reflect the atmosphere of the restaurant.
1. Adjusting Exposure and Color Balance
Use photo editing software to adjust exposure and color balance, ensuring that the photos accurately reflect the colors and lighting of the restaurant. This can involve brightening shadows, darkening highlights, and adjusting the white balance to make the colors look natural.
2. Retouching
Retouching can help clean up minor imperfections in your photos, such as removing unwanted reflections or correcting distortions caused by wide-angle lenses.
Conclusion: Capturing the Perfect Restaurant Interior Photo
Restaurant interior photography is both an art and a science. By mastering the technical skills required and understanding the artistic elements of composition and lighting, you can create stunning images that perfectly capture the essence of any restaurant. These photos not only serve as a critical marketing tool for restaurateurs but also enhance your portfolio as a photographer.
Note :- To Read More Articles Visit on- topcloudbusiness